
Using the Pakon 135 scanner
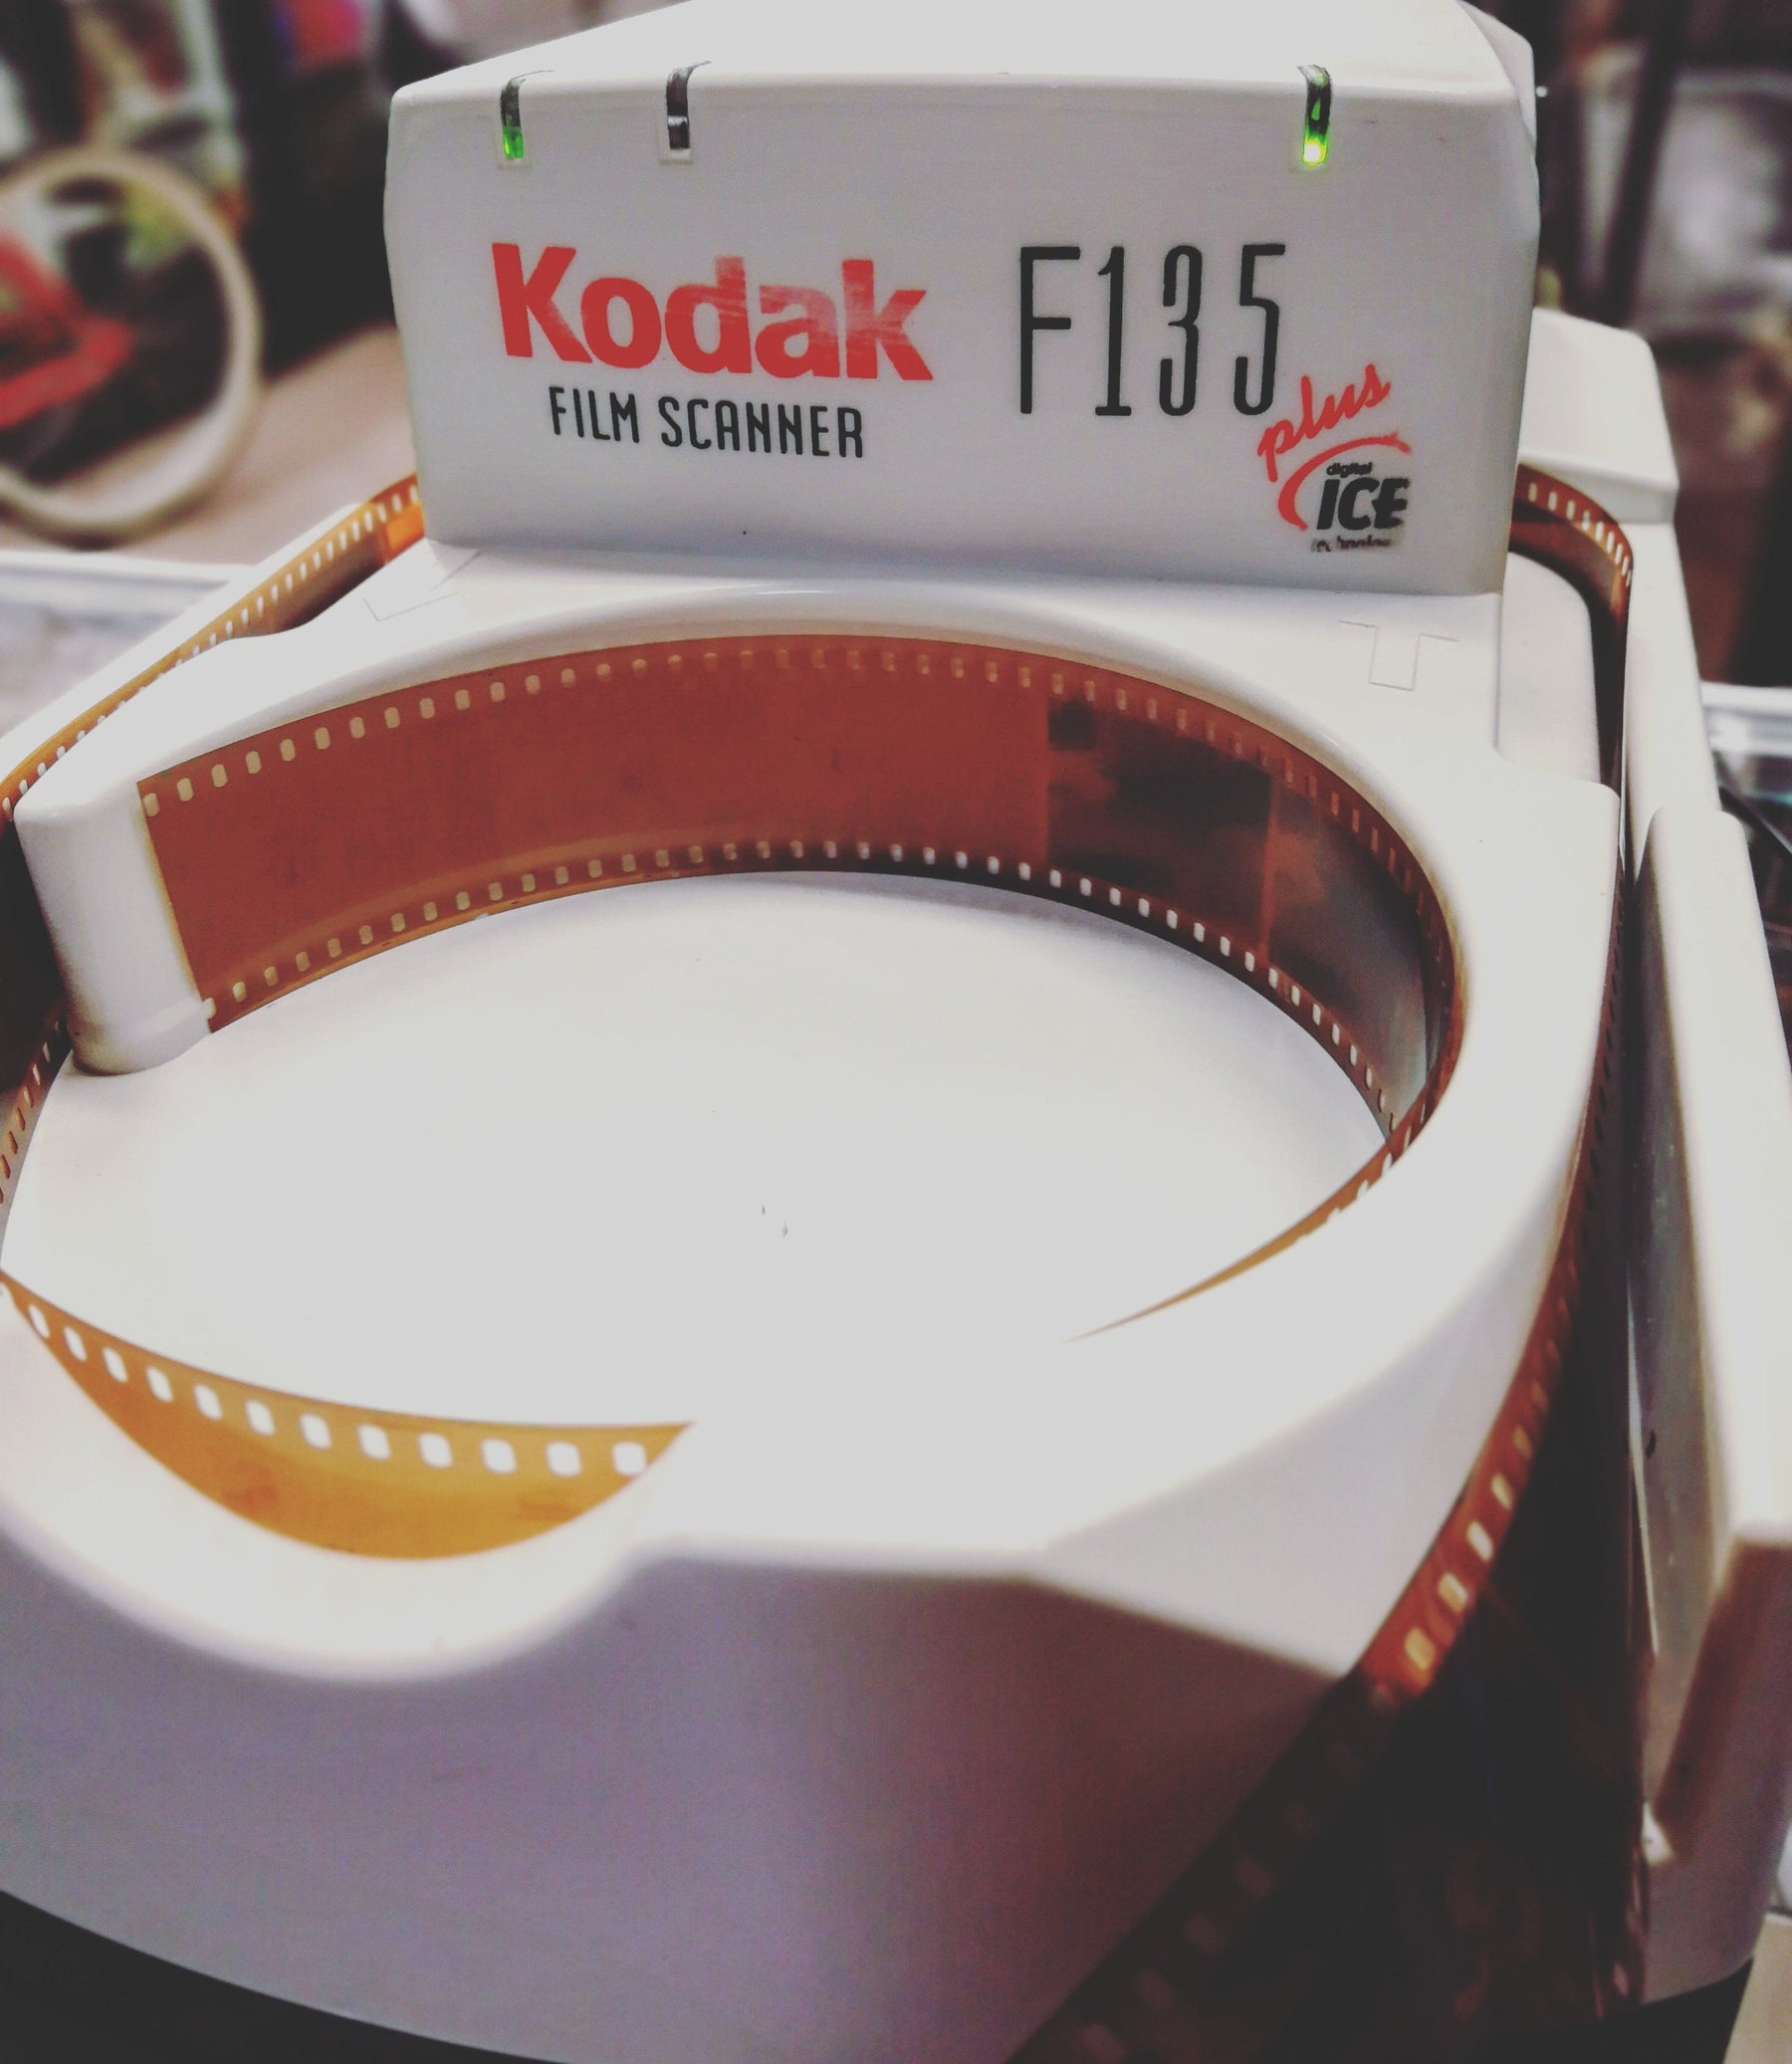
As you may have seen on our Instagram page, we recently acquired the storied Pakon 135 Plus scanner to use in our growing film developing department. Sorting through all of the groups and YouTube videos relating to this scanner gave me a pretty good idea of what to expect.
Getting the old scanner up and running was a bit of a chore, but after finally dedicating an aging Windows XP laptop to the task and finding the archived 'updated' Pakon software via the Facebook user group, I was able to get it ready for our daily use.
It takes a few seconds to warm up, and then after feeding the tip of the uncut film strip into the scanner, it begins to pull the negatives through the machine at a steady rate. All told, a 35mm film roll takes about 7 minutes to progress from one end to the other. Take note to face the emulsion side in towards the scanner.
The software itself is pretty rudimentary and contains a basic brightness, contrast and 6 way color correction. Though the settings are simple, you can batch adjust, and this is a great feature. It works quickly and then saves to a file that you can name with a roll number and customer last name.
All in all, we're pleased to have this as an addition to our film lab arsenal. If we have the chance, we'll probably pick up another one as a good deal comes up. If you have the chance, grab one and you won't be disappointed. It's worlds easier than cutting and flatbed scanning your 35mm negatives.
:-)